I just can't seem to find a teaching job. Summer is now almost over and my dining room is still packed with boxes from my old classroom. I am not giving up though! I am trying to stay positive and remember that God has a plan for me. I thought this quote was appropriate for my situation.
Someday everything will all make perfect sense. So for now,
laugh at the confusion, smile through the tears and keep
reminding yourself that everything happens for a reason.
VISTA PRINT is offering 140 return address labels for FREE! All you have to do is pay shipping...$3.09. I ordered some with just my name on it. These are great for gift tags, or even labeling stuff in your classroom in my case. They have TONS of designs to choose from. To get this offer, go here.
Here are the ones I got:
Check SOUTHERN SAVERS DAILY. She always has great deals.
$10 off a $10 PURCHASE! You will be able to get a few small things for free...
It only lasts for today and you have two days to use it. When you like them on facebook and print the coupon, you will see they are running a sale from July 18-31 called Daily Dealy. Each day they will have a different deal! Keep up with them and see what you can find!
So here is another DIY that I love and plan to recreate. See how ya like it. From blogger: Living with Lindsay
Supplies:
10″ foam wreath ($1 at Dollar Tree)
Paperback novel ($1 at Dollar Tree – depending on the length of the book, you may need two)
Brown and/or gray craft paint
Glue gun & glue sticks
Small strip of ribbon
A few paper towels
A few straight pins (optional)
1. Assemble your cast of characters. I felt slightly guilty about purchasing an author’s work from the Dollar Tree for the sole purpose of ripping up. I read a few pages of Loving Charityjust to make sure I wasn’t about to destroy a literary classic; let me assure you that I wasn’t.
You could definitely use vintage books, magazines or sheet music for this project or even select a book off of your own bookshelf that you don’t think you’ll read again.
2. Using the paper towels, I applied the brown paint to the edges of the book. I simply squirted some paint onto the towel and wiped it on the book. I painted the brown first and then applied a bit of gray. This will give your book pages a vintage look. To be honest, two colors aren’t completely necessary, so you can use just gray or just brown if you would like.
Lay the book on a clean paper towel for about 5 or 10 minutes to let the paint dry.
3. Cut or tear a page out of the book and roll it in a method of your choosing. I put together a video tutorial to show you some different ways to roll the page if you are interested in seeing how I did it. The main thing to remember is that you want to roll the paper and not actually fold or crease it.
4. After rolling the page, apply some glue at the end of the roll and glue it to the wreath. Make sure that the painted edges are facing up.
You will do this layer all the way around the wreath. When you have finished the full circle, flip the wreath over. That layer will become the bottom. If it won’t lay flat, put something heavy on top of it to flatten it out for a few minutes.
5. Continue rolling pages for your wreath. You will now fold a little tab on the bottom edge and apply glue only to that tab. Work your way from the bottom of the wreath up to the top, finishing one layer before moving to the next.
6. Once you get to the inside of the wreath, roll the paper and apply glue to the edge much like you did with the bottom layer. When you glue it on, the pages will be shorter than the wreath of the wreath. That’s okay.
7. At this point, your wreath will be mostly done, but there will be some sections you need to fill in. It should look roughly like this.
To fill in your spaces, you’ll simply roll a page, apply glue to the ends, and just stick it in the wreath. The filler pages don’t necessarily need to touch the styrofoam wreath; they can stick to the pages already glued to the wreath if need be. Use the filler pages to fill in holes and add some height and visual interest to your wreath.
8. After I was finished filling in, I flip your wreath over and glue your scrap of ribbon on the back to serve as a hanger. I stuck a few straight pins in it to make sure it held tight to the wreath, but that’s purely optional if you glue it on well.
All that’s left to do now is to find a spot to hang your new creation!
And for those of you that need a video tutorial....here ya go!
This summer, I have been really in to Do It Yourself crafts. I have been searching the internet and reading blogs about simple things that you can create yourself using only a few household items. The first thing I cam across was all different things you can do using a MASON JAR. I am definitely on this. This is from a blog I recently came across. You can of course use a clear mason jar as well.
#1
DIY BLUE MASON JAR SOAP DISPENSER
]
Hammer and screw driver needed.
Once the hole is made, just use the screw driver to pry it open to the size needed by moving it around in a circle. The zinc was very bendable.
Next, take a plastic or metal dispenser from a soap bottle you already have, and insert it into the hole you created. You can use a little bit of glue from a hot glue gun to hold it in place.
If the “straw” on the dispenser is too long, you may have to cut it to fit into the jar.
Final product!
(I think the silver dispenser looks better)
#2
DIY MASON JAR STORAGE
(pictures and instructions credited to Liz Marie)
One of my favorite elements for interior design costs less than two dollars at your local grocery store. That’s right, Mason Jars. Now, you can find some antique mason jars that cost more & some in different styles, but for this DIY project I used four simple wide mouth Mason Jars. I decided to make my first one for my first time for our master bathroom because I hate the disorganization of bags of cotton balls and other odds and ends. I was so excited that I combined my love for mason jars & stylish practicality…
Mason Jar Storage for the baño...
I filled my mason jars with Qtips, cotton balls, & cosmetic sponges, but you could fill yours with virtually anything that fits in a Mason Jar for any room.
What you will need to create your mason jar storage…
I painted my board to match my bathroom with this lovely shade of purple.
Mason Jars, picture frame hangers, & some large pipe/hose clamps...
And now for some Mason Jar love to show off the final product!
#3
DIY SPRAY PAINTED MASON JARS AND MASON JAR VASES
#4
DIY MASON JAR CANDLE HOLDER
Message from fellow blogger:
It doesn’t get much easier than this. And I like simple and easy! I use this idea year round when I want to add some quick and festive flair for any event, and this is one of the cutest variations ever! We used Mason jars last winter to line our front walk way for guests, we used them this summer at my daughter’s wedding reception, and as you can see, you can use them for fall decorating too! All year round I’ve used Epsom salts to simulate snow or sand. I love the candy corn. You could try coffee beans, shells, jelly beans, marbles, cranberries … and change candle colors to coordinate with your event! The options are endless!
Well, I am back from the beach and I have to say that I REALLY enjoyed myself. It was so nice to get away, relax, and get my mind off of the job search. I have to admit, I did think about it, but I wasn't as nervous/stressed as I would have been if I didn't have other things to distract me such as good food, friends, and the beach. I ate seafood the WHOLE time. Lobster, grouper, shrimp, crab...and I have to admit I was DYING for a cheeseburger today. Sooo cheeseburger it was for lunch and pizza for dinner. Healthy I know. On that note, I am really going to try to start eating healthy. I just feel blah. It's time for a little cleanse. At the beach this weekend my friend Tracy introduced me to these books that she said changed her life. She learned to cook out of them and lost ten pounds! The books are called COOK THIS, NOT THAT. There are two books out. I have heard of EAT THIS, NOT THAT, but not these. I think i will purchase them off of Amazon and get to it. I will let you know if it works. The green one is the first book out, and the orange is the new one.
And now...my weekend in photos.
Tuesday Night
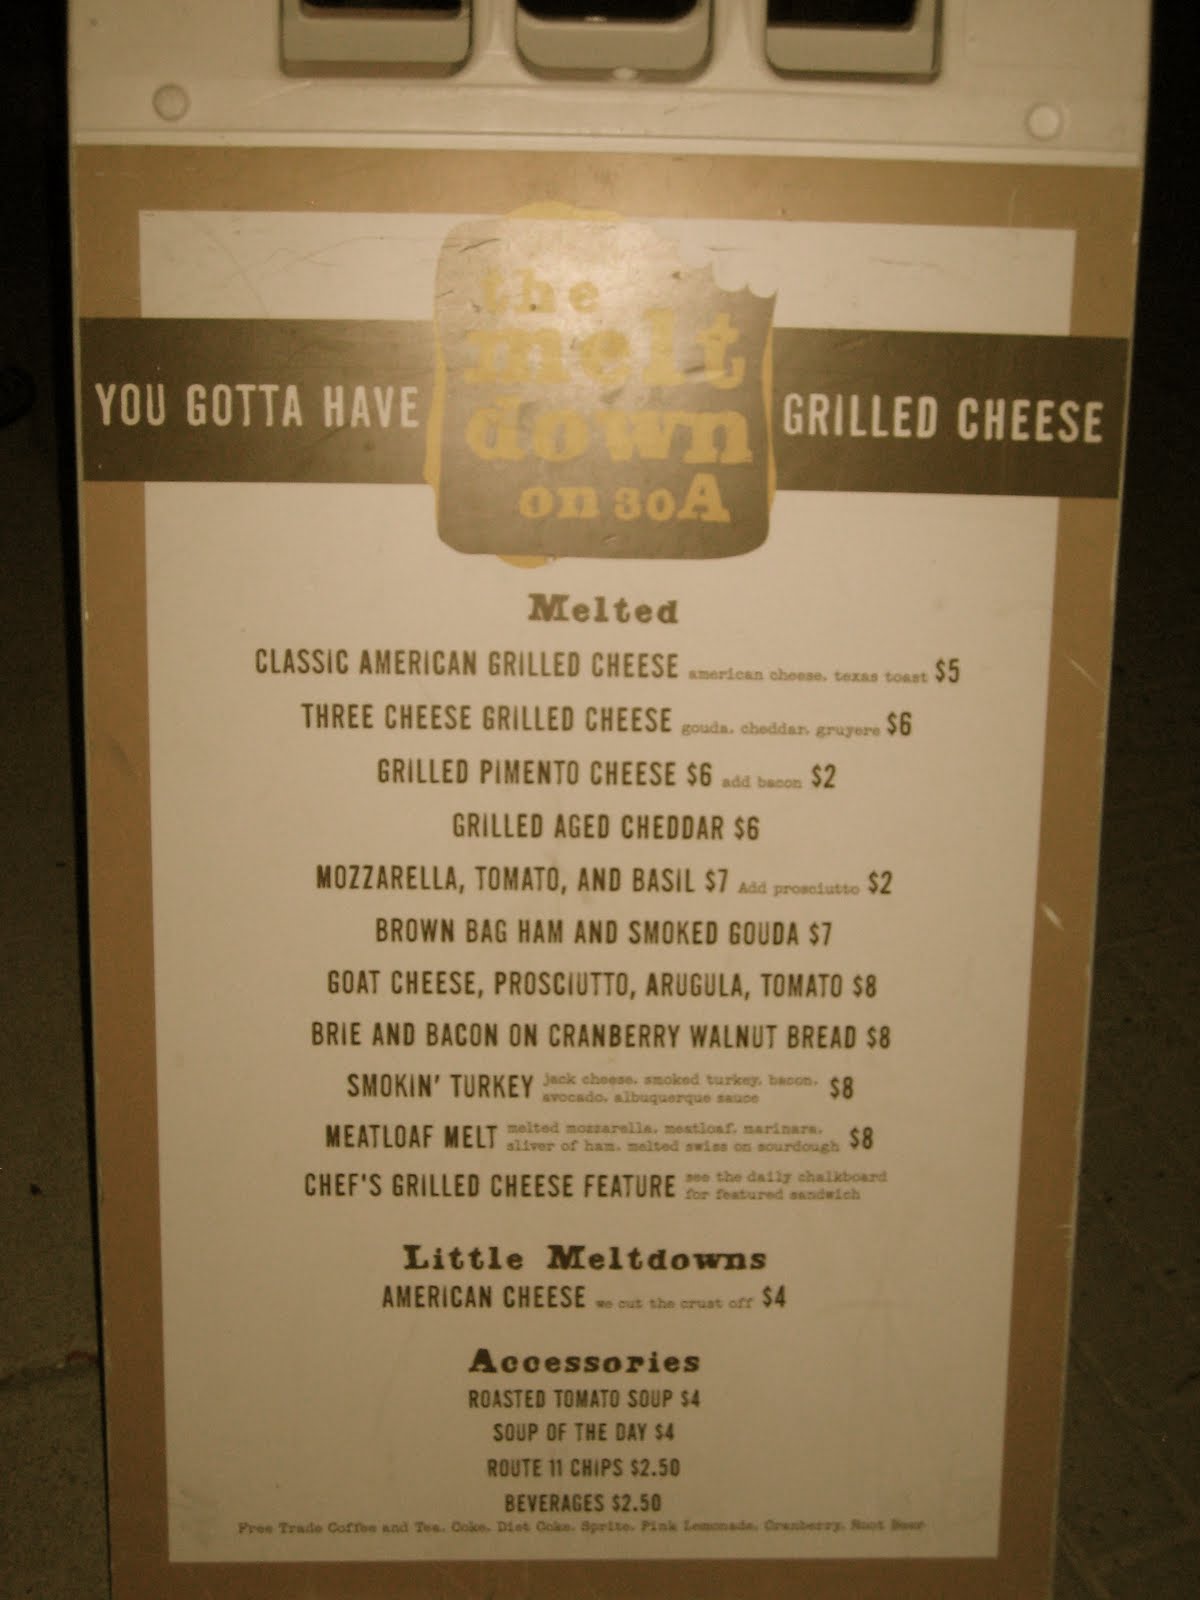
Wednesday Night-Seaside Stroll
(the melt down)
Beach days
This game is so fun! I used to play it when I was little.
Thursday Night-Paradis
2 for 1 Entrees
Pinocchio play in Rosemary Beach after dinner
Friday night-Onanos
View from dinner up a street in Rosemary.
These are just a few pictures to describe the weekend. We also went to Alys Beach Ampitheater one night to see Franklin's friend play his last show. They have a huge grassy area in front of the stage where you can lie out a blanket and drink wine. We met our friends Linsday and Aaron there and watched it together.
We also went to Red Bar's sister restaurant called LOUIS LOUIS with our friends Tracy and Grant. They had great food as well and it was a good time.