Showing posts with label DIY. Show all posts

Tuesday, October 18, 2011

Ideas

button lamp shade

unique shelf


key holders

mail holder

bricks covered in paper for book-ends

hostess gift

thanksgiving place settings

fun Halloween center idea


what will you make?
i love DIY crafts.
K

-images via pinterest-

Tuesday, August 9, 2011

DIY Wipe Off Board

I love this DIY because it is so simple. This would be great to have on your desk or even in your kitchen as a menu planner. I saw this on Pinterest and think I wanna make it...

Need: Frame, scrapbook paper, dry erase marker.

Scrapbook paper in frame.

To- do list or menu planner.

Wipe-off with paper towel when finished.

Let me know if you make this.

K

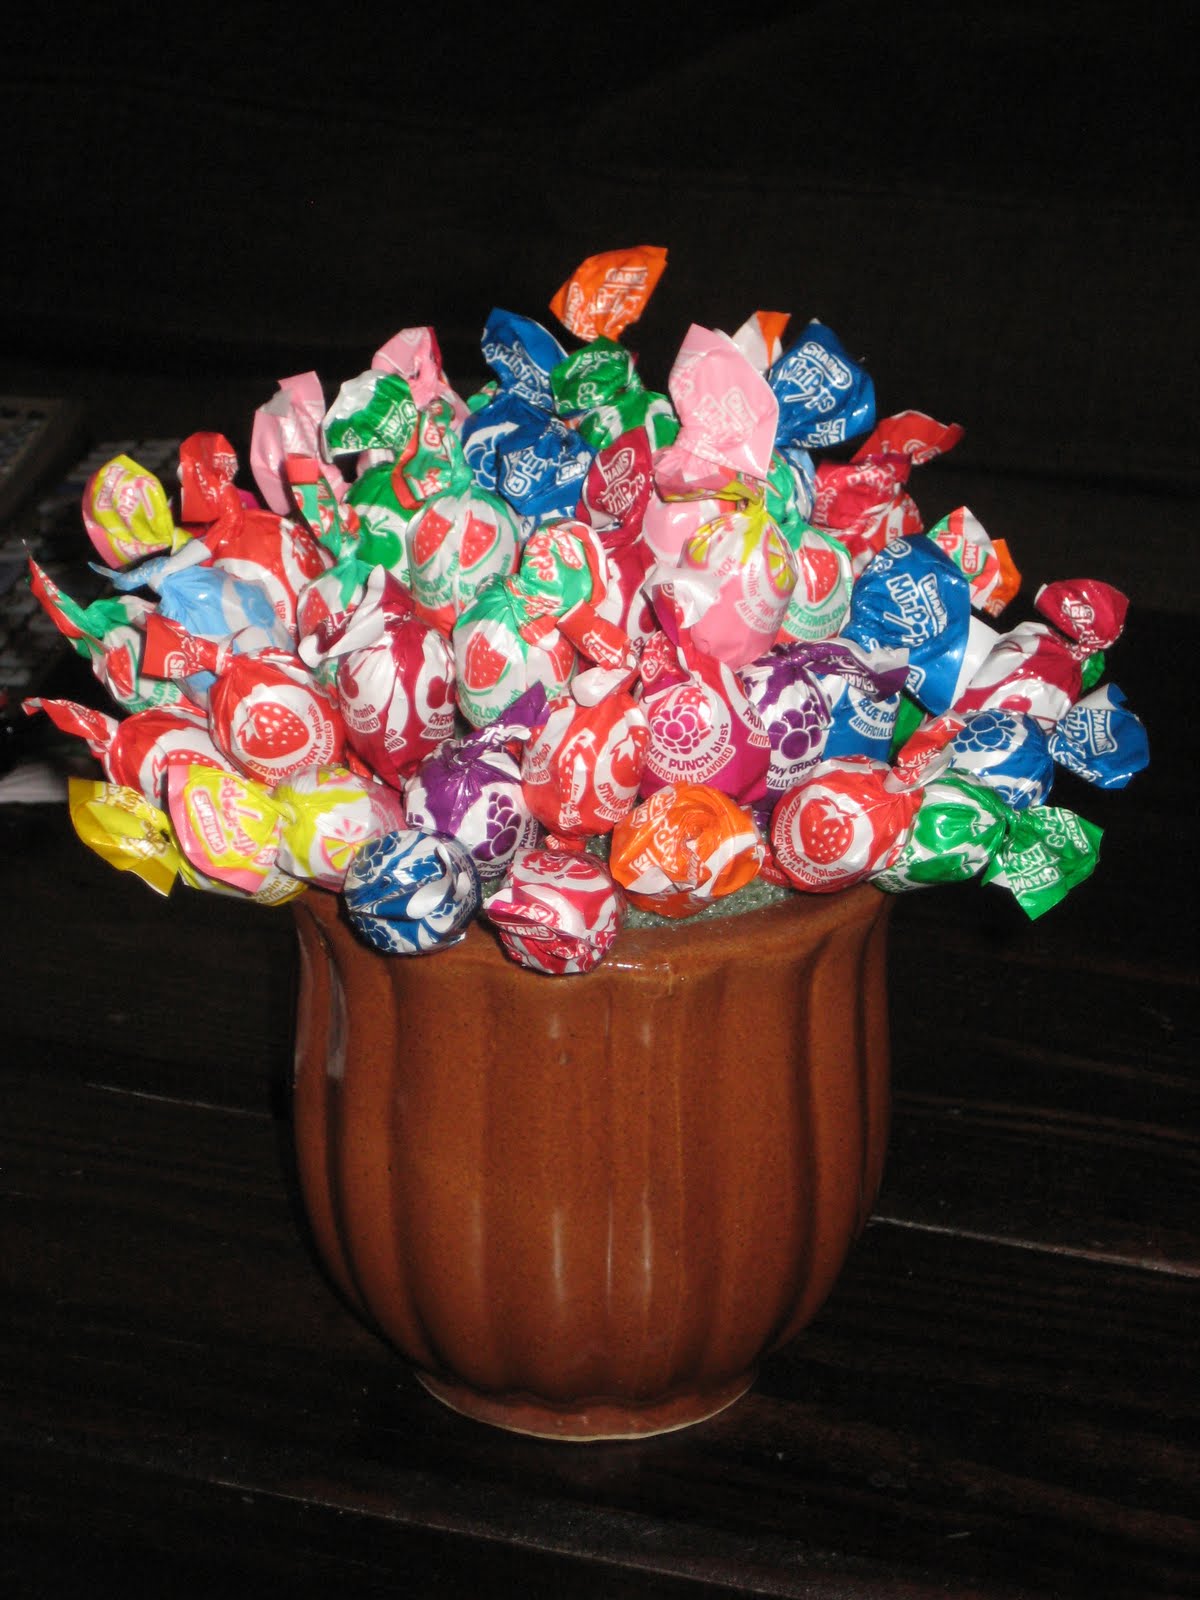
DumDum Tree DIY

Here is a cute DIY for a classroom incentive. Since I do not have a teaching job right now, I have been using this to reward kids during tutoring sessions. So far it has been a hit and it is REALLY easy to make. I saw this idea in the blogger world, but sadly, I can not remember which blog.

You only need three things! A small flower pot, large bag of DUMDUMS, and a foam filler. I picked these things up at the Dollar Tree, but you can find them most anywhere. This is kind of a fancy/cheap flower pot, but just a regular clay one would be fine. I substituted Charms for DUMDUMS because this is all they had and I wasn't making another stop. And the green foam piece is one of those things you stick flowers in for arrangements to get them to stay. (Can't think of the name, forgive me.)


Push the foam piece down into the flower pot so it is secure. It should fit tightly and stick out about half an inch. Start from the inside, pushing the DumDums down into the foam until it is completely covered. This took me about 3 Charms bags (and I could have used a few more), but one big bag of DUMDUMS should do.


And here ya go. Done. Took about 10 minutes.

What else could you use this DUMDUM tree for? Maybe on your desk at work to share with your co-workers?

Don't forget about the giveaway. All you have to do is follow and comment to enter!
Get with it people.

K


Sunday, August 7, 2011

Crafts with Haley

Franklin's step-mom, Haley, has recently started making jewelry. She has all of the supplies and finds it very relaxing. Her new hobby. A couple of nights ago I went to visit and decided I wanted to give it a try. I really enjoyed it, but it was quite challenging. I made two pairs of earrings. One of which it took me FOREVER to get the dang things the same length. It was fun, but you do have to invest some time. Here are my first two pair of earrings. They are not anything fabulous, but I am proud for a beginner.


 She goes to different antique stores and gets old necklaces or bracelets and cuts them apart to get the beads. She also gets old cuff links, which make really cute earrings. If I get any better, I might start selling them with her. We will see how it goes. 

K

Sunday, July 24, 2011

DIY Crafts

This summer, I have been really in to Do It Yourself crafts. I have been searching the internet and reading blogs about simple things that you can create yourself using only a few household items. The first thing I cam across was all different things you can do using a MASON JAR. I am definitely on this. This is from a blog I recently came across. You can of course use a clear mason jar as well.


#1
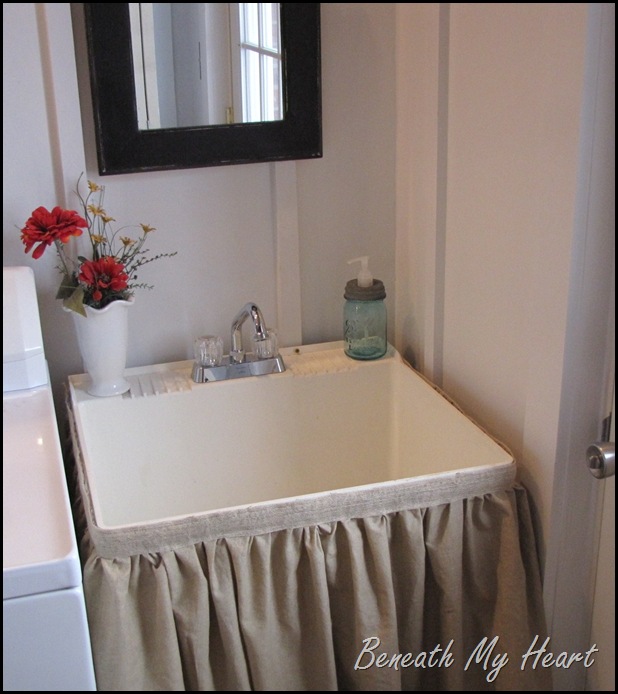
DIY BLUE MASON JAR SOAP DISPENSER

]
Hammer and screw driver needed.

Once the hole is made, just use the screw driver to pry it open to the size needed by moving it around in a circle.  The zinc was very bendable.
Next, take a plastic or metal dispenser from a soap bottle you already have, and insert it into the hole you created.  You can use a little bit of glue from a hot glue gun to hold it in place.
If the “straw” on the dispenser is too long, you may have to cut it to fit into the jar.  

Final product!
(I think the silver dispenser looks better)

#2
DIY MASON JAR STORAGE
(pictures and instructions credited to Liz  Marie)


One of my favorite elements for interior design costs less than two dollars at your local grocery store. That’s right, Mason Jars. Now, you can find some antique mason jars that cost more & some in different styles, but for this DIY project I used four simple wide mouth Mason Jars. I decided to make my first one for my first time for our master bathroom because I hate the disorganization of bags of cotton balls and other odds and ends. I was so excited that I combined my love for mason jars & stylish practicality…
Mason Jar Storage for the baƱo...


I filled my mason jars with Qtips, cotton balls, & cosmetic sponges, but you could fill yours with virtually anything that fits in a Mason Jar for any room.
What you will need to create your mason jar storage…
I painted my board to match my bathroom with this lovely shade of purple. 


Mason Jars, picture frame hangers, & some large pipe/hose clamps...

And now for some Mason Jar love to show off the final product!


#3
DIY SPRAY PAINTED MASON JARS AND MASON JAR VASES


#4
DIY MASON JAR CANDLE HOLDER

Message from fellow blogger:
It doesn’t get much easier than this. And I like simple and easy! I use this idea year round when I want to add some quick and festive flair for any event, and this is one of the cutest variations ever! We used Mason jars last winter to line our front walk way for guests, we used them this summer at my daughter’s wedding reception, and as you can see, you can use them for fall decorating too! All year round I’ve used Epsom salts to simulate snow or sand. I love the candy corn. You could try coffee beans, shells, jelly beans, marbles, cranberries … and change candle colors to coordinate with your event! The options are endless!


Try some of these and tell me what you create!

Here is another site with more mason jar ideas.
**You can get mason jars at the grocery store for cheap, from your grandmother's cabinet, or check antique stores for the blue ones**

I will post another one of my favorite DIY crafts tomorrow!

Get to work,
K